A fresh coat of paint is one of the cheapest and most dramatic ways to change a room. It is also one of the easiest projects to do badly. Rushed preparation, the wrong finish and a poor color choice are the usual culprits. Spend your time in the right places, and the result will look professional.
Step 1: Choose the Color Carefully
Color looks very different on a wall than on a tiny sample card. Light changes it throughout the day, and the surrounding furniture and floors change it too.
- Test before you commit. Paint a large sample, about 30 to 50 cm square, on the wall, or on a board you can move around the room.
- Look at it at different times. Check it in morning light, afternoon sun and under evening lamps.
- Consider the room’s light. Rooms with little natural light feel cozier in warm shades. Bright rooms can handle cool tones and deeper colors.
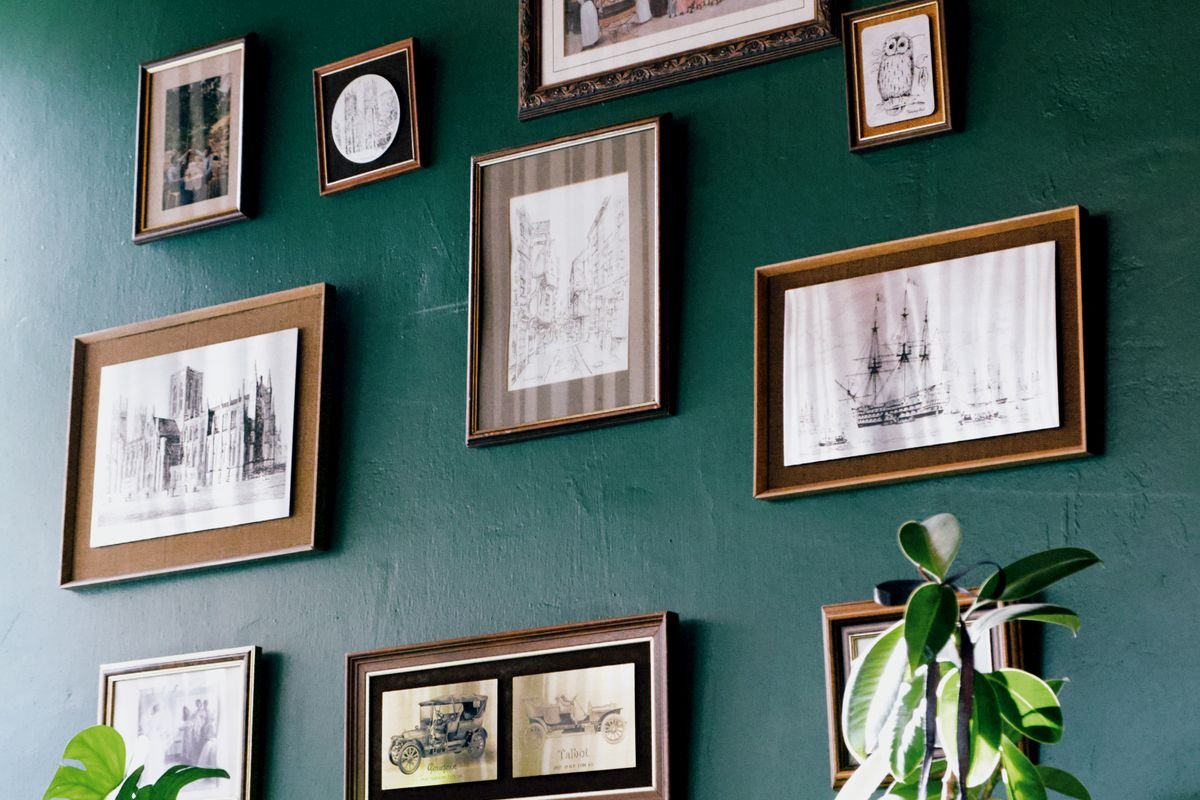
- Think about mood. Soft neutrals and pale greens feel calm, warm whites feel welcoming and deeper blues or greens add depth.
- Link it to the rest of the home. A related palette makes the rooms flow into each other.
Step 2: Pick the Right Finish
- Matte or flat. Hides imperfections beautifully but marks easily. Good for ceilings and low-traffic rooms.
- Eggshell. A soft sheen that is washable enough for living rooms and bedrooms.
- Satin. Slightly shinier and more durable, suited to hallways, children’s rooms and kitchens.
- Semi-gloss. Hard-wearing and easy to wipe, ideal for doors, skirting boards and bathrooms.
The shinier the paint, the more it shows flaws in the wall, so repair the surface carefully before using glossier finishes.
Step 3: Estimate How Much You Need
- Measure the width of each wall and the height of the room, multiply to get the area and add the walls together.
- Subtract about 2 square meters for each door and 1.5 for each window.
- Check the coverage on the can, which is often around 10 to 12 square meters per liter per coat.
- Plan for two coats, and buy a little extra for touch-ups.
Step 4: Gather Your Tools
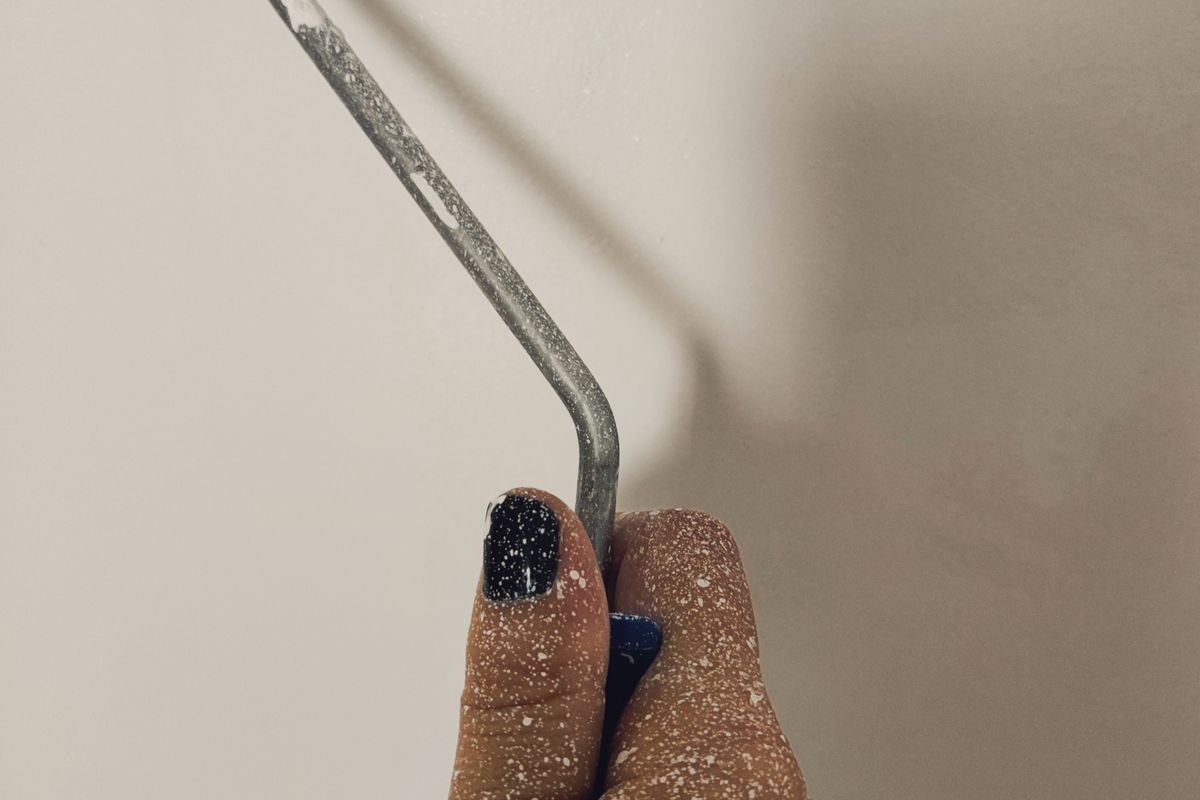
- Good roller and roller covers suited to your wall texture
- An angled brush for edges and corners
- A paint tray and liners
- Painter’s tape
- Dust sheets to cover floors and furniture
- Filler, a scraper and sandpaper
- A stepladder
- Primer if needed
Cheap brushes and rollers shed hairs and fibers and give a poor finish. Better tools are worth the extra cost.
Step 5: Prepare the Room
Preparation takes more time than painting, and it decides the quality of the result.
- Clear the space. Move furniture to the center of the room and cover it, or take it out.
- Protect the floor. Use dust sheets, not thin plastic that slides around.
- Remove fixtures. Take off socket covers, light fittings and curtain rods where possible.
- Clean the walls. Wipe away dust, grease and marks with a damp cloth and mild detergent, then let them dry.
- Repair damage. Fill holes and cracks with filler, let it dry and sand smooth.
- Tape the edges. Apply painter’s tape along skirting boards, window frames and ceilings.
- Prime if needed. Use primer on bare plaster, stains, patches and when making a big color change, such as covering dark paint with a light shade.
In older homes, previous layers of paint may contain lead. If you are unsure, get the surface tested before sanding or scraping, and avoid creating dust.
Step 6: Paint in the Right Order
Work from top to bottom.
- Ceiling first. Any drips will fall onto the walls you have not yet painted.
- Walls next.
- Trim and doors last.
Step 7: Cut In, Then Roll
“Cutting in” means painting the edges and corners with a brush before using the roller.
- Paint a strip about 5 cm wide along the ceiling line, corners and around fittings.
- Roll the main area while the cut-in edges are still slightly wet, so the paint blends.
- Load the roller evenly, without dripping, and roll in a large “W” or “M” shape, then fill in the gaps with straight strokes.
- Work in sections of about one square meter, and keep a wet edge to avoid visible lap marks.
- Do not press hard. Let the roller do the work.
- Open windows while painting and for a day or so afterward.
- Choose low-odor, low-VOC paints, especially for bedrooms and children’s rooms.
- Use a stable stepladder, and never overreach.
- Keep pets and children away from wet paint and tools.
- Skipping the preparation
- Painting over dust, grease or loose old paint
- Choosing a color from a tiny swatch only
- Using one coat to save time
- Overloading the roller, which causes drips and splatter
- Painting in poor light, so missed patches only show later
Step 8: Let It Dry and Apply the Second Coat
Follow the drying time on the can. Many paints are touch-dry in an hour or two and ready for a second coat in two to four hours, though humid or cold conditions slow this. A second coat evens out any patchy areas and deepens the color.
Step 9: Remove the Tape Properly
Peel the tape while the final coat is slightly tacky, not fully dry. Pull it slowly at a 45-degree angle away from the wall. If the paint has already dried, score along the edge with a sharp blade first so that the paint does not peel.
Ventilation and Safety
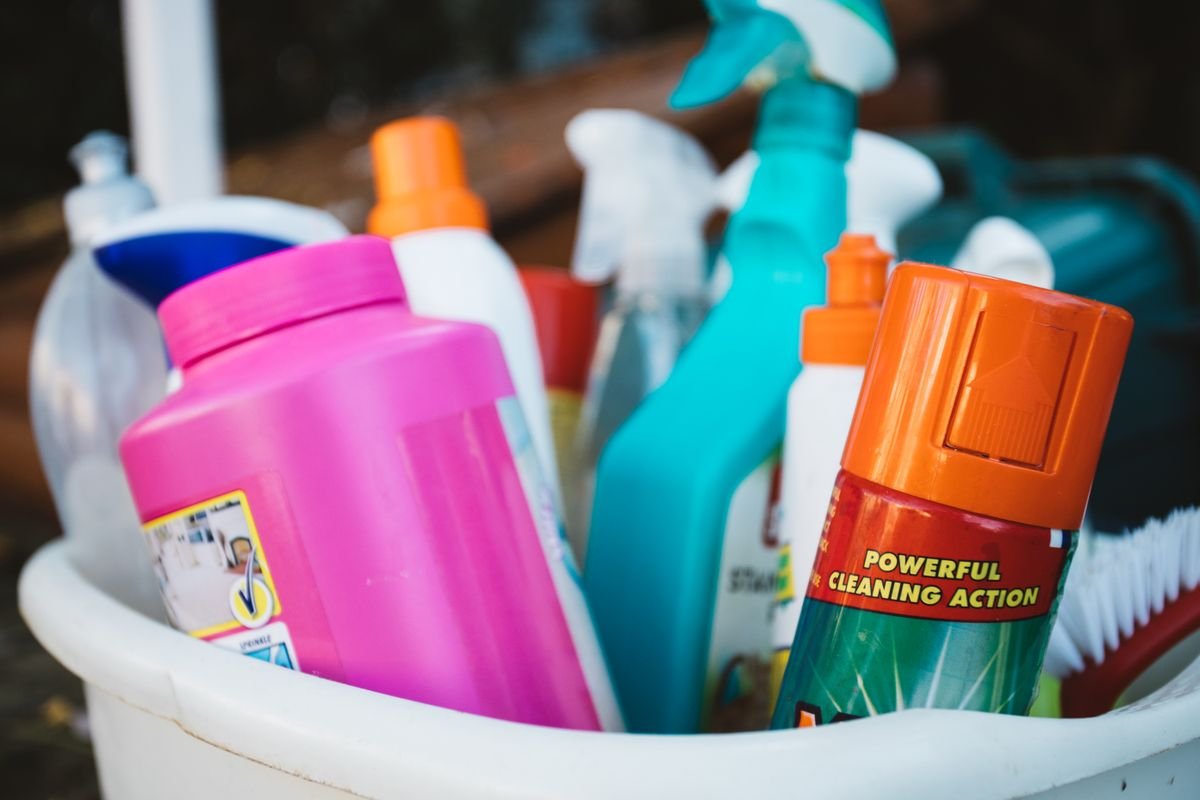
Cleaning Up
Wash water-based paint from brushes and rollers with warm, soapy water. Seal the can tightly and store it upright for touch-ups. Do not pour paint down drains. Follow local rules for disposing of leftovers.
Common Mistakes
Frequently Asked Questions
Do I always need primer?
Not always. Skip it on clean, previously painted walls in good condition, but use it on bare surfaces, stains and dramatic color changes.
How long does a room take to paint?
An average bedroom takes a weekend, including preparation and two coats.
Can I paint over wallpaper?
It is usually better to remove it. Painting over it can cause bubbling and visible seams.
How can I make the finish smoother?
Use a quality roller, keep a wet edge, sand between coats if needed and paint in good natural light.
The Takeaway
Choose your color by testing it in the room, match the finish to how the space is used, and give plenty of time to preparation. Paint from top to bottom, cut in neatly and apply two coats. A little patience gives you walls that look clean and professional.